A portable propane gas grill is the most honest piece of cooking equipment you can buy. One burner, a small grate, a lid that either seals or does not, and no marketing department big enough to hide behind. Everything it does well, it does because you set it up correctly, and everything it does badly usually gets blamed on the grill when it was the cook.
I have cooked on tailgates, in parking lots before judging assignments, and on a picnic table in a park with a crosswind that ate my heat like a hungry dog. A portable propane gas grill in wind is a different machine than the same grill sitting in a driveway on a still evening. That is the entire lesson of this guide.
What follows is the workflow I use on small propane grills: how to set one up, how to preheat it, where the hot spot lives, how to keep flare-ups from turning dinner into an experiment, and how to shut it down so it lights on the first click next Saturday. Two portable models anchor the short list at the end, a compact single-burner and a heavier step-up unit, and I will tell you which job each one belongs to.
Why you should trust me
I spent 15 years as a line cook before I spent 12 running a BBQ judging circuit, and the line taught me more about small grills than any showroom ever did. A line cook works on a narrow grate over a fixed flame and has to produce the same result 200 times a night. A portable propane grill is that same problem, just outdoors with worse weather.
I own four grills and a thermometer collection my wife considers a medical condition. Every cook goes in a spiral notebook with ambient temperature, wind direction, and where the hot spots showed up. I score grills on a card like a competition judge: flare control, recovery time, igniter, grate, lid seal.
Two rules hold here. I do not write up a grill I have not cooked on at least three times, and I do not take paid placement. If a brand ever sends a unit, I say so in the copy. Pellet grills are not my bench, so questions about those go to the smoker guys. This is the gas grill bench.
How I picked and how I tested
The criteria for a portable are not the criteria for a full-size patio grill, and that is where most buyers go wrong. BTU ratings are marketing words. Even heat distribution is engineering, and on a small grill that engineering shows up in three places: where the burner sits under the grate, how well the lid seals, and whether the igniter is a real ignition system or an afterthought bolted on at the end.
My routine on any grill is the same. A dozen burgers, half on the left and half on the right, so I can watch which side browns first. A chicken with the skin on, to see how the grate handles fat. A long cook for heat stability, because a grill that cannot hold a steady temperature for an hour without babysitting is a fire pit with a lid.
On portables I add three checks that matter more than the spec sheet. First, does the lid close tight enough that hot air stays inside? A loose lid on a windy day is a losing battle. Second, is the grate large enough to cook for the number of people actually eating? A single burner under a small grate means one round of food, not two. Third, does it stand steady on a picnic table, because a grill that rocks when you press a spatula on it is a grill that tips.
The two units below are the ones I would build this workflow around in the portable class. One is the compact end. One is the step up.
Two portable propane grills worth this workflow
A portable propane grill has to do one of two jobs. Either it cooks for two people in a park or a parking lot, or it cooks for four or more at a tailgate or a campsite in rounds. Those are different grills, and buying the wrong one is the most common mistake I see.
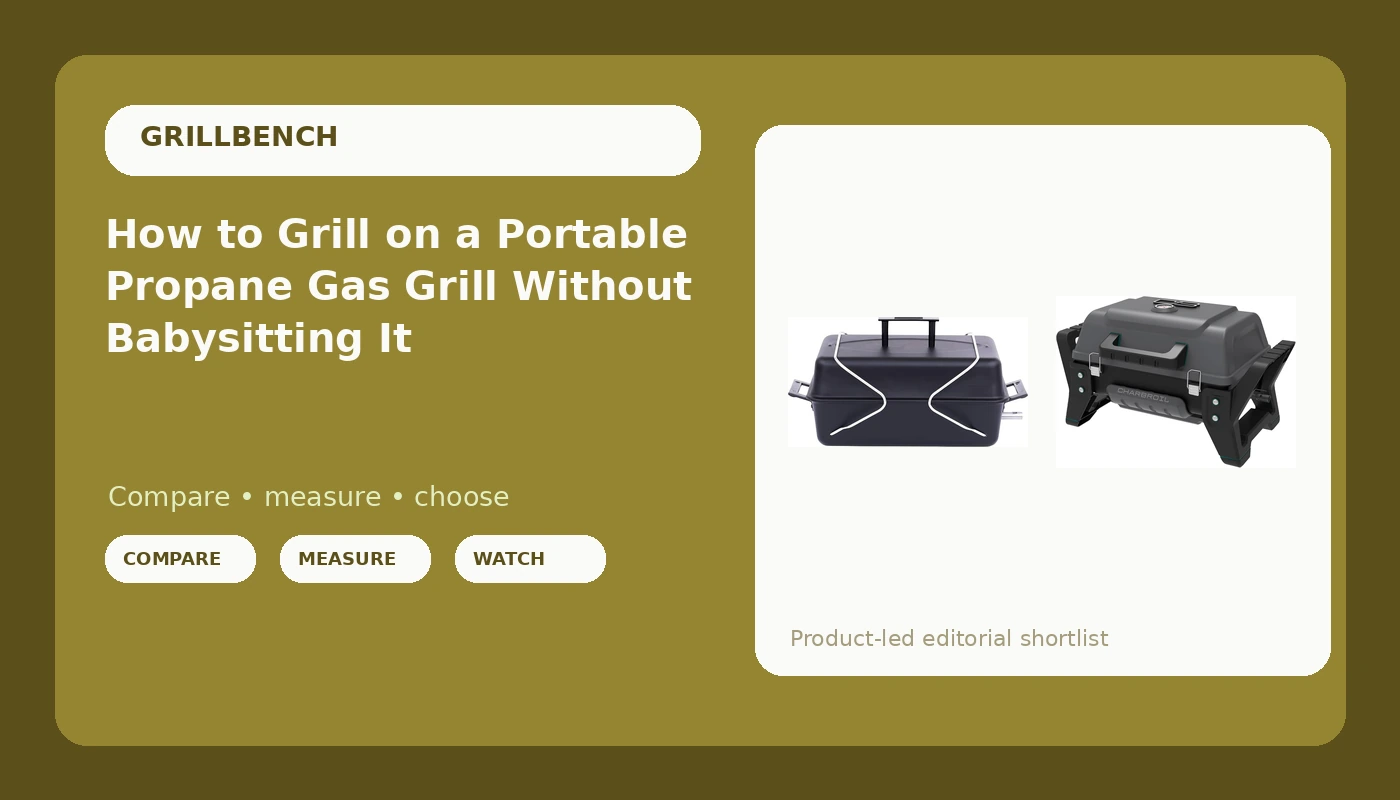
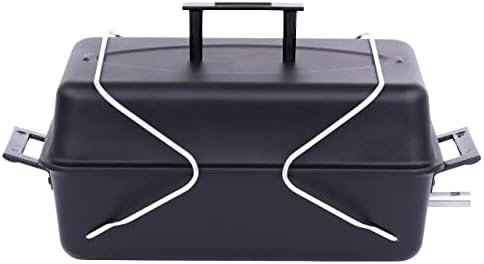
Budget pick: Charbroil Portable Convective 1-Burner Propane Gas Grill - 465133010
 Visit on Amazon →
This is the compact end of the class, and the convective part of the name is the interesting bit. A convective design moves hot air around inside the closed lid instead of just radiating from one burner, which on a single-burner grill buys you a little forgiveness. It will not turn one burner into two zones, but it helps the outer ring of the grate come closer to the temperature in the middle, and that means fewer burnt edges on the first cook.
The job it does well is small and fast: two burgers, a couple of brats, a chicken breast, dinner for two people who are hungry and standing next to it. The job it does not do is a crowd. With one burner and a compact grate, you are cooking in one round, so plan the food accordingly or plan to eat in shifts.
When you get it, inspect the three things I always check on a portable. Look at the igniter and see whether it is a proper push-button system, because an igniter that dies in the first season is a pet peeve of mine and it turns every cook into a lighter-and-tongs operation. Look at how the burner sits relative to the grate. Look at the regulator and hose connection, then leak-check it with soapy water before the first cook.
Flaws but not dealbreakers: One burner means no true two-zone setup, so you manage heat with distance and lid time instead of a knob. The grate is small by design. If you routinely cook for four or more, this is the wrong grill and the step-up below is the right one.
This is the pick for a couple, a small balcony, a car trunk, and anyone who wants to cook two steaks without dragging out a full-size rig.
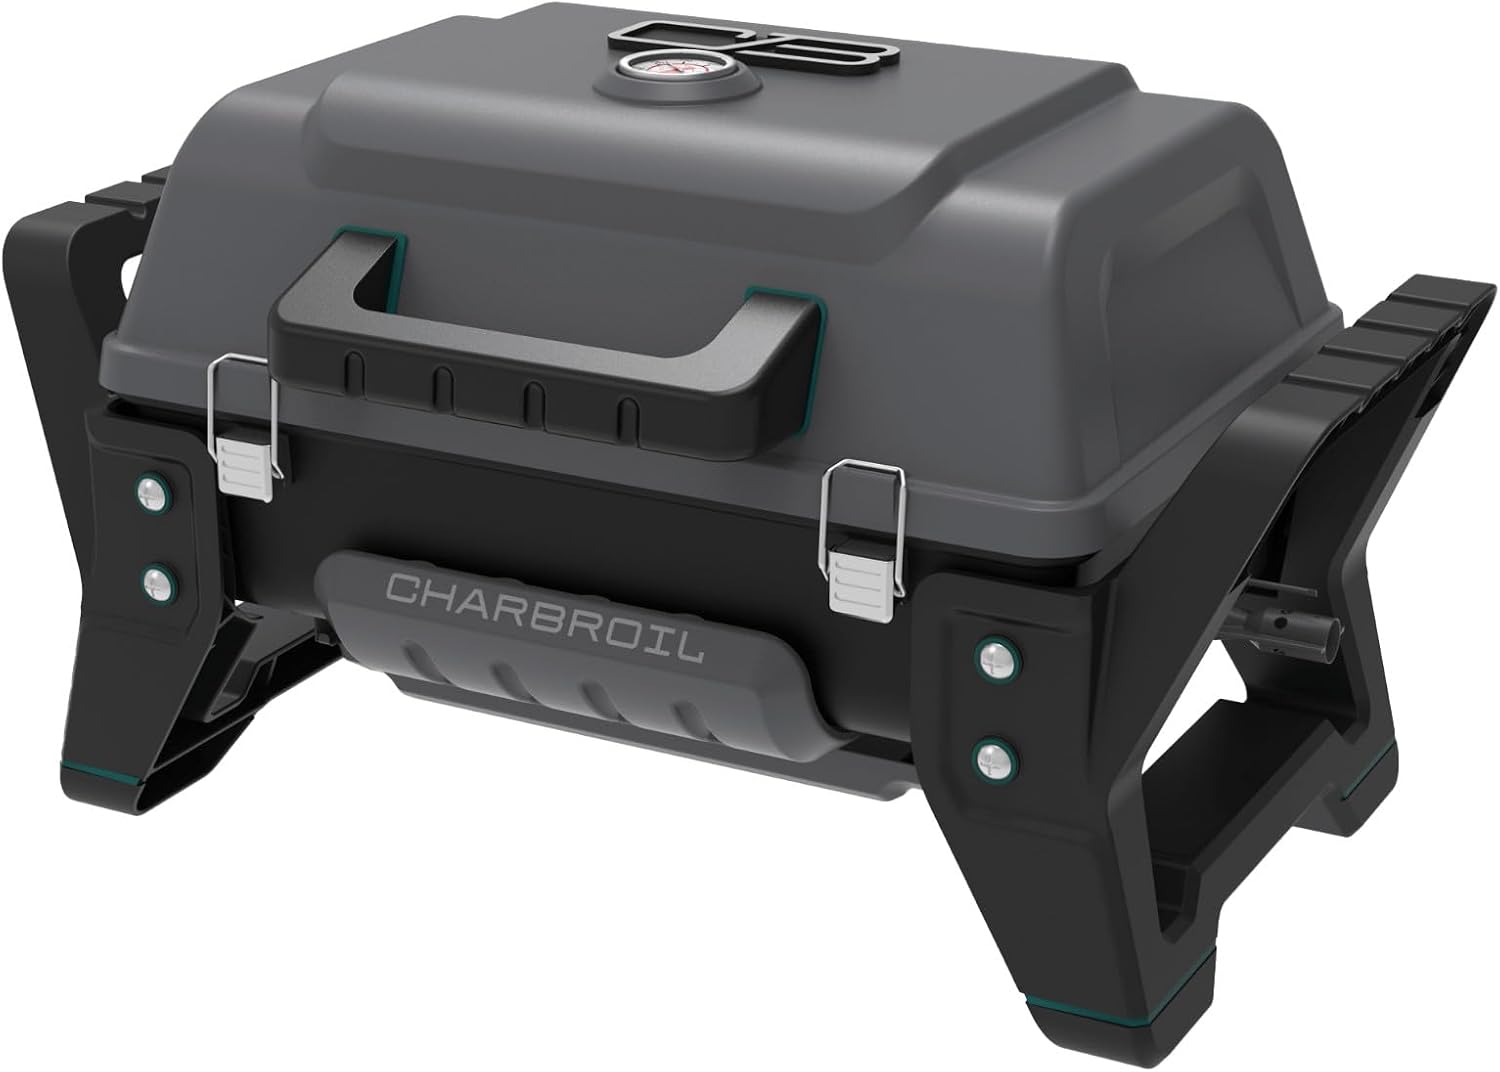
Upgrade pick: Charbroil Grill2Go X200 Portable Gas Grill, Dark Grey - 25409200
 Visit on Amazon →
This is the step-up portable, and the reason to step up is always the same on small grills: more grate area and more lid. Grate area decides how many pieces of food you can cook at once and whether a two-zone setup is even possible. Lid mass decides recovery time, which is how fast the temperature comes back after you open the lid, and recovery time is the most honest spec on any grill, portable or not.
The Grill2Go X200 is built as a lidded, portable, latch-and-carry unit in a dark grey finish, and it is the one I would point at a family of four, a tailgate, or a campsite where you are cooking in rounds and want the food to stay warm between them. The bigger grate also gives you somewhere to park food when a flare-up kicks off, which is the whole trick I cover in step eight below.
The trade is weight and table space. A bigger portable takes up more of the picnic table, needs a bigger trunk footprint, and drinks more propane per cook because there is more chamber to heat. That is the honest cost of the upgrade.
Flaws but not dealbreakers: Heavier than the compact unit, so it is less pleasant to carry from a parking lot to a far-away picnic spot. It also wants a bigger tank or more frequent one-pound refills for long sessions.
This is the pick for anyone cooking for more than two, anyone who wants a genuine cool zone, and anyone who tailgates with a full cooler and a folding table.
The actual setup and cooking workflow
Here is the sequence. It works on any portable propane grill with a lid and a burner control.
Step one: Assemble and leak-check. Soapy water in a spray bottle on the regulator, the hose, and the tank connection. Bubbles mean a leak and the grill does not get lit until it is fixed. Do this at the start of the season and any time you swap a tank.
Step two: Pick your spot and respect the wind. Wind is the single biggest reason a portable loses heat. Set up so the wind hits the back of the lid and not the open front, or use a car, a cooler, or a friend's truck as a wind block. Write down the wind direction in a notebook if you want to learn your grill fast, because the same grill behaves differently on a gusty day than on a still one.
Step three: Preheat lid-down for a full ten minutes. This is the step everyone skips and it is the step that matters most. A cold grate sticks to protein and tears it. A hot grate releases food on its own, which is how you get a clean flip without a spatula scraping the crust off. Ten minutes, lid closed, burner on high.
Step four: Find the hot spot on the very first cook. Lay a grid of bread slices across the grate and watch which ones toast first, or put a burger on the left and a burger on the right and watch which one browns faster. On a single burner under a compact grate, the center runs hottest and the outer ring runs cooler. That outer ring is your cool zone for the rest of the grill's life.
Step five: Set your zones before the food goes on. On a one-burner portable, your two zones are directly over the flame and the outer ring. On a two-burner portable, one burner off is a real cool zone. Decide now where the food goes if the fat starts dripping.
Step six: Dry the surface, oil the grate. Pat the meat dry with a paper towel. Oil the grate with a folded paper towel held in tongs, not the food. Oil on the food drips into the flame and causes flare-ups, oil on the grate does not.
Step seven: Sear lid-up, finish lid-down. Open the lid when you want heat at the grate for a crust. Close the lid when you want heat in the chamber to cook the middle. On a small grill those are two different cooking modes and you switch them on purpose. Leave the food alone until it releases. One flip is usually enough.
Step eight: Handle flare-ups with movement, not water. When flames kick up, move the food to the cool zone and close the lid for about 30 seconds to starve the fire of oxygen. Reopen, wait for the flame to drop, then put the food back over heat. A water bottle is the last resort because it cools the grate and kicks up ash, which lands on your dinner.
Step nine: Give it recovery time. Stop hovering with the lid open. Every time you look, the chamber dumps its heat and the grill has to climb back up. Lid down, timer on, hands off.
Step ten: Shut it down in the right order. Turn the burner control off first, then the tank valve, so the gas in the line burns out instead of sitting in the hose. Leave the burner on high for five minutes to burn the grate clean, brush it, then let it cool and cover it. Store the tank off the grill when you can.
The competition and why it lost
Charcoal kettles sear better and taste better to a lot of people, and I will not argue with that. They also take 20 minutes to light and a bag of fuel to run, and this guide is about the grill that lives in your trunk and lights in a minute.
A flat-top griddle is a different tool for a different job, better for smash burgers and breakfast and worse for anything you want to cook with a lid closed.
Pellet grills are not in this conversation at all, and that is a house rule: no pellet coverage on this bench. Take those questions to the smoker guys.
A full-size propane grill on a patio beats any portable on heat stability, grate area, and burner control, and if you have the patio and you cook three nights a week, buy the full-size grill and skip this article. But for a park, a tailgate, a campsite, a balcony, or a trunk, the portable wins by being there at all. A grill you can carry is a grill you actually use.
So the short list stays at the two above: the compact single-burner for two people, and the step-up for four or more.
What this all costs
The purchase price is the small part. Check current Amazon price on both grills and you will see they sit in different tiers, which is expected given the size difference.
The real money is in what you burn and what you keep on hand. Propane per cook is the ongoing cost, and the step-up grill will use more of it because it has more chamber to heat. A small tank refill is cheaper per cook than one-pound disposables, so if you cook more than twice a month, buy a refillable tank and an adapter hose.
Then the three accessories that actually change results on a portable. A cover, because a portable sits outside and grates rust. A stiff grate brush, because a burned-off grate is a clean grate. And an instant-read thermometer, because a single-burner grill has a hot center and cool edges, and the only way to know what is happening inside a chicken breast is to check it.
That is the whole job. Buy the grill that matches the number of people you actually feed, preheat it like you mean it, find the hot spot on cook one, and stop opening the lid. Your portable propane gas grill was built to do this. Let it.